よくあるご質問
質問
What settings do I need to set up after installing a printer driver ?(FAQ No.01739)
回答
When you installed a printer driver, you need to configure the driver to accommodate installed trays to the machine. Normally, this setup is automatically set at the installation of a printer driver to accommodate MFP’s optional device configuration. When you unchecked [Auto Configuration] or change the settings, please follow the procedure below.
The following procedure takes BP-20C25 as an example.
You can configure the settings automatically or manually.
Please set up manually if you use IPv6 for a network connection or when Auto Set does not work properly.
Procedure for Auto Set
1. Open [Printer Properties].
Reference Information
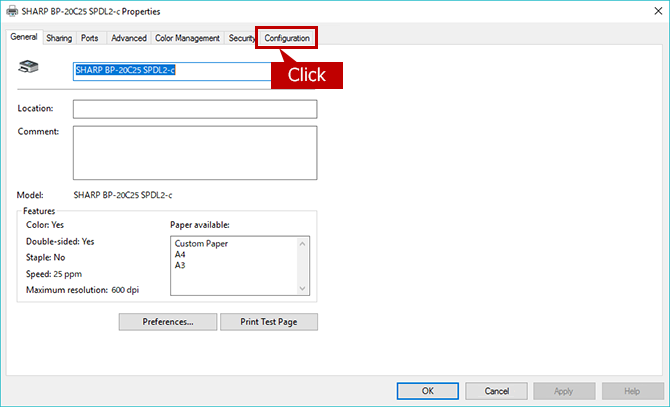
2. Show Configuration.
Click the [Configuration] tab.
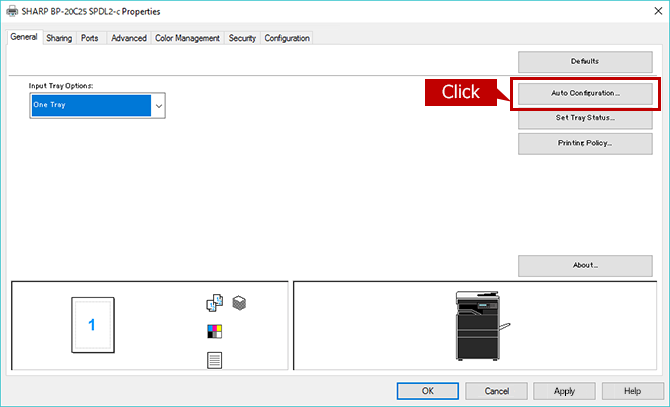
3. Start Auto Configuration.
When you click the [Auto Configuration] button, the setting update begins automatically.
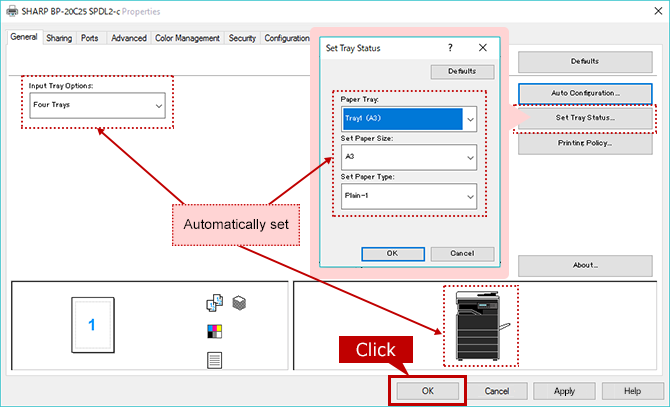
4. Update Machine Image (configuration).
Check each item that automatically updated then click the [OK] button.
Procedure for Manual Setting
1. Open [Printer Properties].
Reference Information
2. Show Configuration.
Click the [Configuration] tab.

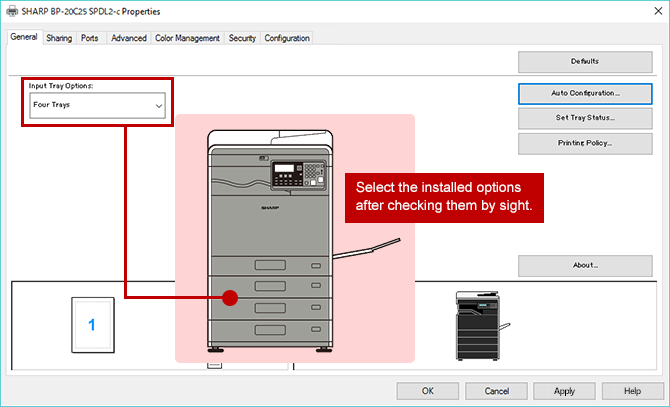
3. Configure the Settings for Paper Feeding Options.
For the settings of Paper Feeding Options, you should check the installed options by sight.
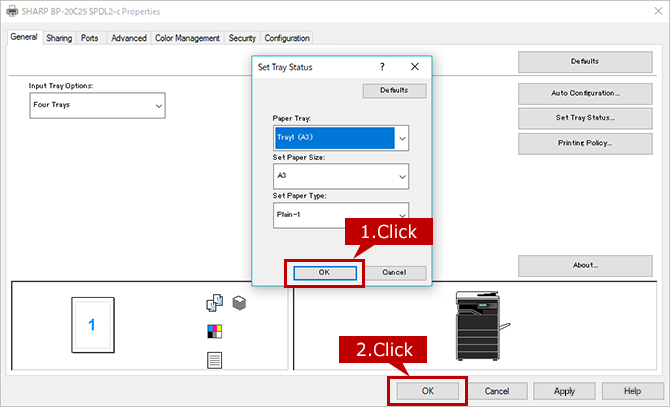
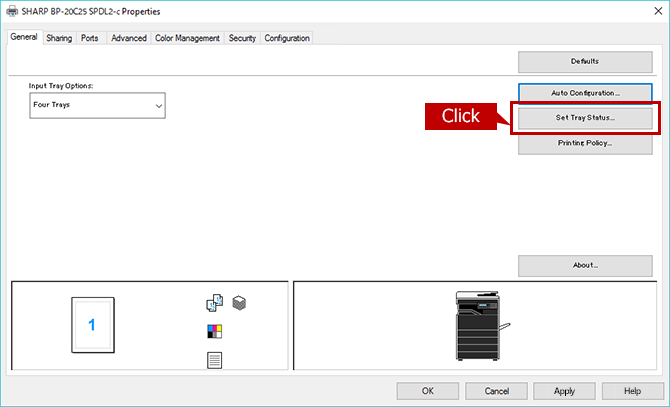
4. Set Up the Tray(s).
Click the [Set Tray Status] button.
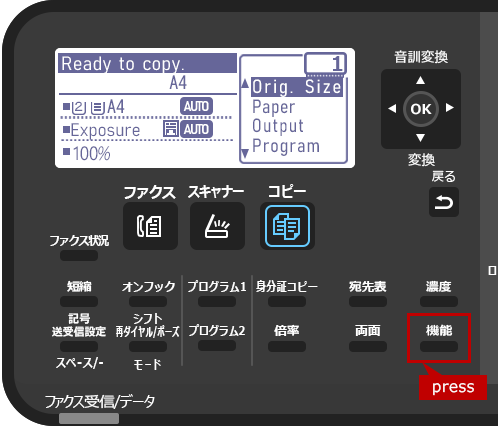
5. Check the Tray Settings on the operation Panel.
Press the [機能] button on the operation panel.
Reference Information
Want to change the display language for the Operation Panel and the Control Screen on the Web.
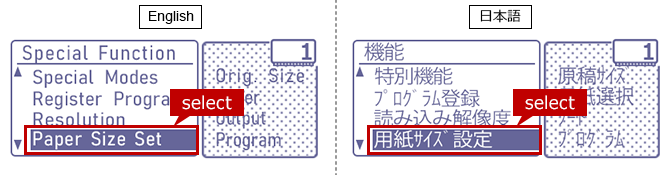
6. Open [Paper Size Set] page.
Select [Paper Size Set] and press the [OK] button.
7. Register the Settings to [Paper Size].
Looking up paper size settings information and copy the settings to the [Set Paper Size] of Printer Properties.

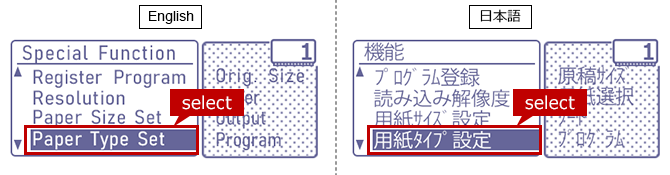
8. Open [Paper Type Set] page.
Select [Paper Type Set] and press the [OK] button.
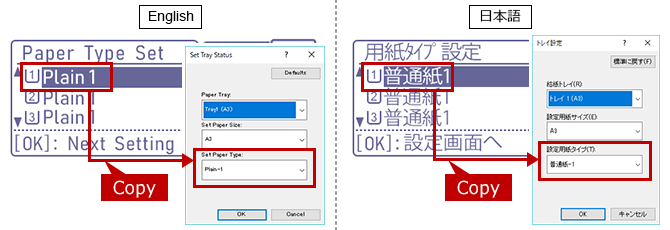
9. Register the Settings to [Paper Type].
Looking up paper type settings information and copy the settings to the [Set Paper Type] of Printer Properties.
10. Complete the Setup.
Click the two [OK] buttons to complete the setup.